 |
| Raspberry Pi with EnOcean Communication Module |
The kit includes:
- Communication module. Interface between the sensors and the Raspberry Pi. It is radio frequency based and is connected using the Raspi GPIO.
- Temperature Sensor with an optional humidity sensor adapter.
- Magnetic (reed) switch, ideal to monitor door or window openings.
- Mechanic switch.
- Raspberry Pi.
System overview:
- 902 MHz or 315 MHz operation frequencies.
- Repeater mode.
- Wireless sensors.
- "Learn" button capability, used to quick configure sensors.
- All sensors have a solar panel to harvest energy.
 |
| EnOcean Communication Module |
 |
| EnOcean Sensors |
In order to install and run this system, it is needed to configure and install a few applications first. The Raspberry Pi needs an OS, EnOcean recommends using Raspbian. This is a Debian based OS for Raspberry boards, you can download and see install instructions here.
After installing Raspbian, make sure to fully configure the OS. This is done via terminal or console access, either by using SSH connectivity or by simply attach a keyboard, mouse and a monitor and access to the operating system terminal window. In order to configure it using SSH, the board has to be in the same network as the computer accessing the Raspberry Pi. Type the following command in your computer terminal window.
ssh pi@10.0.1.2
NOTE: Change 10.0.1.2 to the Raspberry Pi IP address. You can find out this IP by accessing your router web interface.
It'll ask for a password, the default password for a fresh installed Raspian should be the word raspberry.
Now, to fully configure the OS use the following command and make sure you select expand file system (rootfs) and select language and locale (set locale). After configuring these two, it is recommended to restart the board.
sudo raspi-config
Before continuing, you have to make sure that the default locale value LC_ALL is set to something, to verify this use the following command:
locale
If LC_ALL is set to nothing (LC_ALL= ), add the folloing line to your .bashrc file and restart your board.
export LC_ALL=C
Now the Raspberry Pi is ready to install and configure EnOcean modules.
NOTE: Make sure to connect the EnOceans communications module AFTER all software is installed and configured.
Configure the board to handle EnOcean modules is quite easy. There is a tutorial video that can be found here. It shouldn't take more than 30 minutes. It uses a Perl base web-server named FHEM.
Steps:
1. Disable serial communication module. Use the following script available at GitHub. https://github.com/lurch/rpi-serial-console.
sudo wget --no-check-certificate https://raw.github.com/lurch/rpi-serial-console/master/rpi-serial-console -O /usr/bin/rpi-serial-console && sudo chmod +x /usr/bin/rpi-serial-console
NOTE: The --no-check-certificate flag is on because my Raspberry Pi did not trust GitHub. Newly Raspbian ìmages should not need this flag to be on.
After the installation is done, type the following command to disable serial communications.
sudo rpi-serial-console disable
2. Install Perl and support libraries.
sudo apt-get install perl libdevice-serialport-perl libio-socket-ssl-perl libwww-perl
This is where the locale configuration is important beacuse Perl instalation can halt if there is no LC_ALL set.
3. Install FHEM Perl server, use the following commands:
wget http://fhem.de/fhem-5.5.deb
sudo dpkg -i fhem-5.5.deb
sudo reboot
FHEM is installed at /opt/fhem/ folder and should start every time you turn your board on. To verify the installation go to your web browser and type:
http://10.0.1.2:8083/fhem
NOTE: Change 10.0.1.2 to the Raspberry Pi IP address. You can find out this IP by accessing your router web interface.
You should see the main page of FHEM server. See log files if you don't, and look for error during installation.
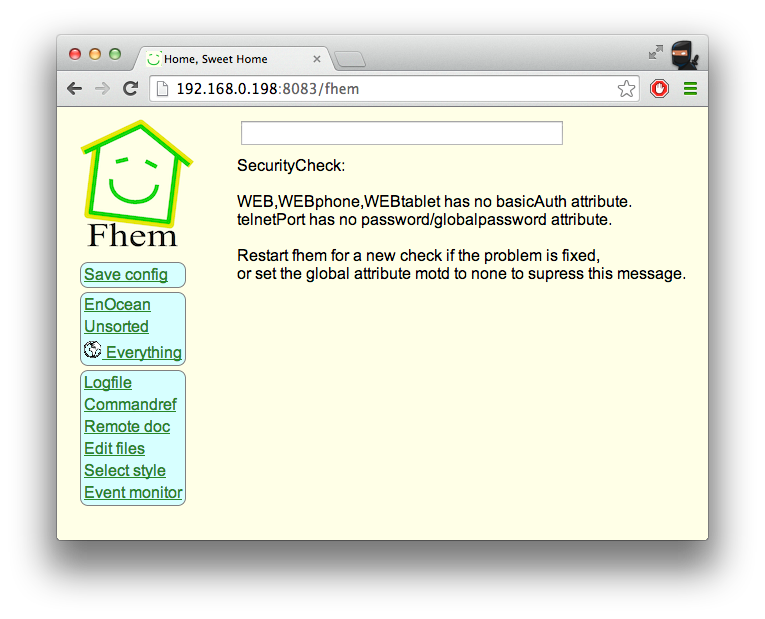 |
| FHEM web server interface |
Now it is correct to connect the communications module to the Raspberry Pi. The sensors start to send messages at the moment they harvest enough energy to function and usually the server configures them automatically. Sometimes it is needed to press the "Learn" button to fully configure each sensor.
There are some adjustments needed, like to define the communication module. Using the FHEMs web-interface go to "Edit files" section, and select fhem.cfg file. Add the following line at the end.
define TCM310_0 TCM 310 /dev/ttyAMA0@57600
Depending on your temperature sensor model, it is needed to configure it a little bit more. After automatic configuration, the temperature sensor have a subType = sensor attribute. This need to be changed to subType = tempSensor.05. Please refer to FHEM documentation for details on different sensors. For every other sensor in the kit, pressing the "Learn" button should be enough.
The Data
To access data harvest by the server you can access FHEMs log files. On the other hand, there are several perl commands to access specific data.
To show a list of devices found by the server, use the following command:
/opt/fhem/fhem.pl localhost:7072 list
 |
| List all devices found by EnOcean communicator module |
To access a specific state or data from a device, use the following command:
/opt/fhem/fhem.pl localhost:7072 "list EnO_sensor_01818358 STATE"
 |
| Just the data you need |
After all, this is a fairly simple system to use. Radio frequencies make communications in an industrial environment easier and robust. Although there are some concerns on documentation being most in german and the lack of sensor cases, this system is perfect for an Internet of Things application. As a development kit is great because of the low cost in prototyping an specific solution in domotics and telemetry.
Para ver esta reseña en español, visita: http://www.element14.com/community/roadTestReviews/1825
No comments:
Post a Comment